MAC Eye Makeup Look!
February 24, 2014
In THIS haul post I showed you some beautiful MAC eye shadows and promised an eye makeup look with them. Here you go! :)
Step one and two: Apply MAC Paint Pot in Painterly to your whole lid with your ring finger. Then, add Estée Lauder Double Wear ShadowCreme in 06 Ivory Lace to the whole lid.
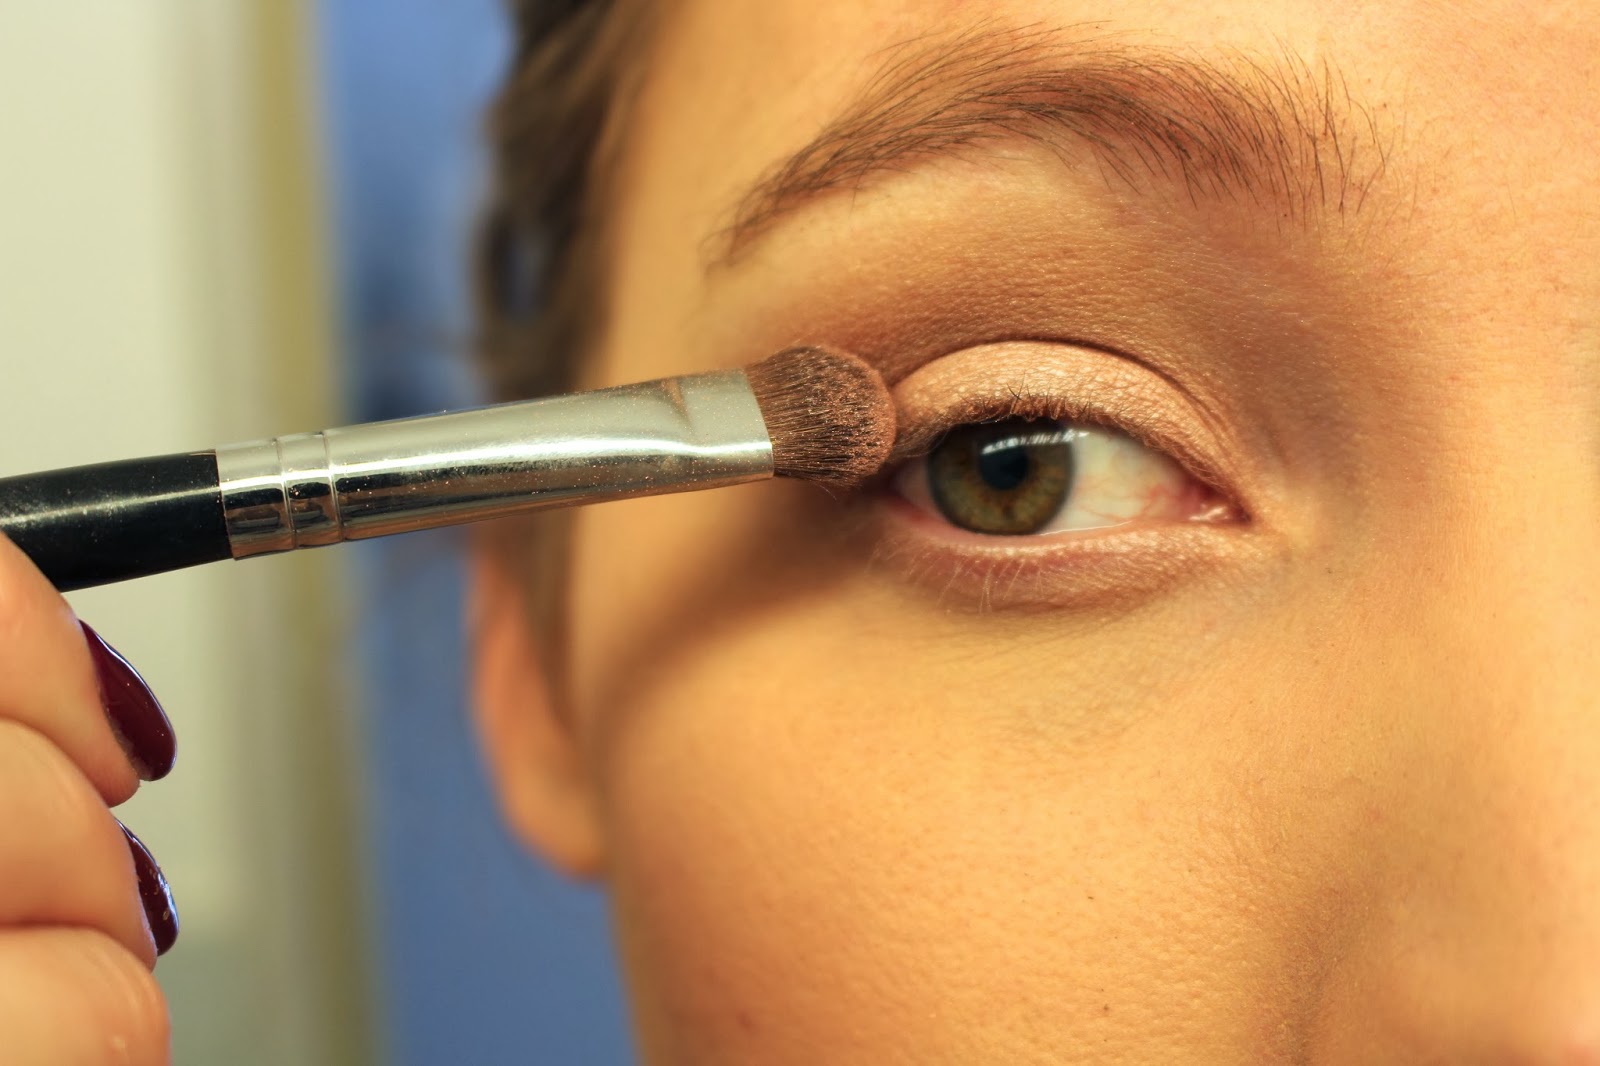
Step three: With a tapered blending brush (I used the Sigma E40), blend MAC Matte Eye Shadow in Wedge into the crease and a bit above the crease bone.
Step four: Then, using an eye shadow brush (I used the Sigma E55), pack MAC Frost Eye Shadow in Jest onto the lid. I always feel like I need to pack on quite a bit for it to show up. I really like when the pinky shade shows up on the lid.
Step five: Now it's time for the risky part. Pick up very little of MAC Satin Eye Shadow in Print onto a blending brush (I used the MAC 217) and work that into your crease, trying not to go too high. I guess that depends on the shape of your eye and how much crease space you have to work with. It's important to start out with lightly dabbing your brush into the dark shadow - you can always add more!
Step six: Using the same eye shadow brush as we used to apply Jest, we're going to pick up some of MAC Satin Eye Shadow in Folie and pack that onto the outer third / half of the lid. You can easily create an ombré effect with the shadow, making it darker on the outer corner and blending it more toward the middle of your lid. I also worked this shade into my crease a tiny bit, by using the tip of this eye shadow brush.
Step seven: Pick up some of MAC Velvet Eye Shadow in Vanilla onto a medium angled shading brush (I used the Sigma E70) and use that to highlight under your eyebrows. This helps to make that crease shade pop.
Step eight: This is a step I almost always make when doing my eye makeup. I like to take the NYX Jumbo Eye Pencil in French Fries and line my lower lash line. I don't know what it is but I love how this helps to lightly line my eyes without having to take a dark pencil and lining all the way to my tear duct.
Step nine: Then, picking up some of Folie on a small pencil brush (I used the Sigma E30), line your lower lash line about two-thirds in. I don't like pulling a dark shade all the way in to my tear duct since this tends to make my eyes seem smaller.
Step ten: This is a step I never leave out of my makeup routine. I use a Smashbox Arced Liner Brush #21 to apply the Smashbox Jet Set Waterproof Eye Liner in Dark Brown. I didn't attend anything fancy here, just a simple line lining my entire upper lash line.
Step eleven: If you're not blessed with long, curly lashes, then remember to curl them! This will make the biggest difference in opening up your eyes.
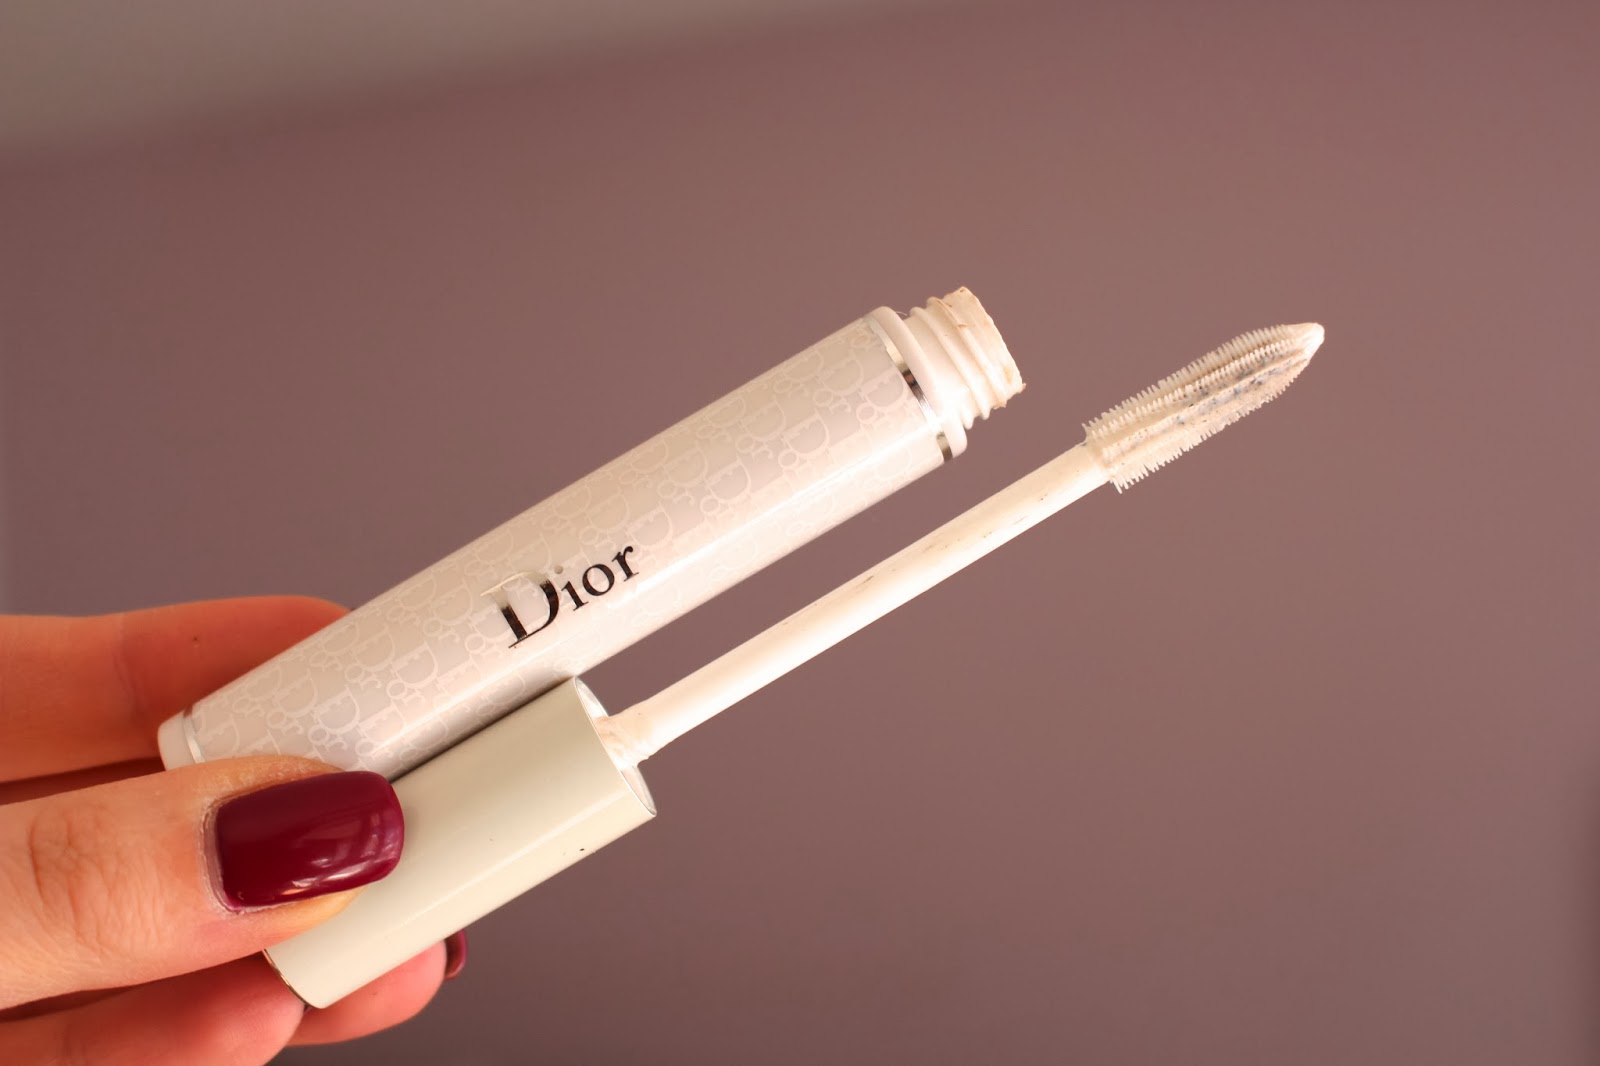
Step twelve: This is also a step I never leave out. Apply the Diorshow Maximizer Lash Plumping Serum to your upper and lower lashes and let that dry for a few seconds.
Step thirteen: Time for mascara! Pick your fave (I used the Lancôme Hypnôse Star) and get to coating them lashes. I used about 2.5 coats since my lashes are so blonde (ugh!). I also tight lined my upper water line with a black eye liner which also helps make your lashes look darker and thicker.
Step fourteen: Last step - lips! I used MAC Lip Pencil in Soar and MAC Lustre Lipstick in Patisserie. After looking at these pictures I regret using the lip pencil since my lips came out too rosy. If I had used the lipstick alone, they would have been a bit more on the nude side. But hey, I'm still in love with this look!
There you go! I really hope you enjoyed this tutorial and if you try out this eye makeup look, show me! Tag me in your Twitter/Instagram photo or link up your blog in the comments below :)
This is NOT a sponsored post. All products were purchased with my own money.


3 comments
It looks great! I envy your lashes
ReplyDelete26 and Not Counting
Thank you Jessica!! :)
DeleteSeriously stunning girl!! Thanks for sharing as I always need new tops for my eye shadow:) xoxo Katie
ReplyDelete